如何在laravel5.1框架中使用Blade模板繼承-創(chuàng)新互聯(lián)
本篇文章給大家分享的是有關(guān)如何在laravel5.1框架中使用Blade模板繼承,小編覺得挺實用的,因此分享給大家學(xué)習(xí),希望大家閱讀完這篇文章后可以有所收獲,話不多說,跟著小編一起來看看吧。

1.用法概要
@include('common.header')包含子視圖@extends('article.common.base')繼承基礎(chǔ)模板@yield('content')視圖占位符@section('content')@endsection繼承模板后向視圖占位符中填入內(nèi)容{{-- 注釋 --}}Blade模板中注釋的使用
2.具體使用
2.1 新建Article基礎(chǔ)模板base.blade.php
直接使用Bootstrap4模板代碼及CDN,新建視圖基礎(chǔ)模板
路徑resources/views/article/common/base.blade.php
<!DOCTYPE html><html lang="en">
<head>
<title>Artilce|標題在此</title>
<meta charset="utf-8">
<meta name="viewport" content="width=device-width, initial-scale=1">
<meta http-equiv="x-ua-compatible" content="ie=edge">  <link rel="stylesheet" href="https://cdn.rawgit.com/twbs/bootstrap/v4-dev/dist/css/bootstrap.css" rel="external nofollow" rel="external nofollow" >
</head>
<body>
{{-- 包含頁頭 --}}
@include('article.common.header')
{{-- 繼承后插入的內(nèi)容 --}}
@yield('content')
{{-- 包含頁腳 --}}
@include('article.common.footer')
<script src="http://ajax.useso.com/ajax/libs/jquery/2.1.4/jquery.min.js"></script>
<script src="https://cdn.rawgit.com/twbs/bootstrap/v4-dev/dist/js/bootstrap.js"></script>
</body>
</html>
2.2. 建子視圖文件 頁頭和頁腳
頁頭文件 resources/views/article/common/header.blade.php
<nav class="navbar navbar-light bg-faded">
  <div class="container">
  <a class="navbar-brand" href="#" rel="external nofollow" rel="external nofollow" >Articles</a>
  <ul class="nav navbar-nav">
    <li class="nav-item active">
    <a class="nav-link" href="/article" rel="external nofollow" >首頁 <span class="sr-only">(current)</span></a>
    </li>
    <li class="nav-item">
      <a class="nav-link" href="#" rel="external nofollow" rel="external nofollow" >寫文章</a>
    </li>
  </ul>
  <ul class="nav navbar-nav pull-right">
  <li class="nav-item">
    <a href="" class=" rel="external nofollow" rel="external nofollow" btn btn-primary-outline">登錄</a>
  </li>
  <li class="nav-item">
    <a href="" class=" rel="external nofollow" rel="external nofollow" btn btn-success-outline">注冊</a>
  </li>
  </ul>
</div>
</nav>
頁腳文件 resources/views/article/common/footer.blade.php
<div class="footer"
    >
  <div class="container">
    <h2 >Articles</h2>
  </div>
</div>
2.3 即可繼承模板,實現(xiàn)復(fù)用
新建主頁文件在resources/views/article/index.blade.php
@extends('article.common.base')
@section('content')
  <div class="container" >
  <h2 >繼承模板的主頁搞定了!</h2>
   {{-- 這里是Blade注釋 --}}
  </div>
@endsection
2.4 如何訪問?
需要路由以及控制器配合,這里簡單只用路由實現(xiàn),詳細內(nèi)容請點擊,以及接下來的其它文段
在app/Http/routes.php 路由注冊文件寫上如下代碼
Route::get('/',function(){
  return view('article.index');
});
啟動你的配置的laravel跑的服務(wù)器,比如我在目錄地址下php artisan serve
瀏覽器輸入 : localhost:8000,即可看到效果圖
3. 效果圖
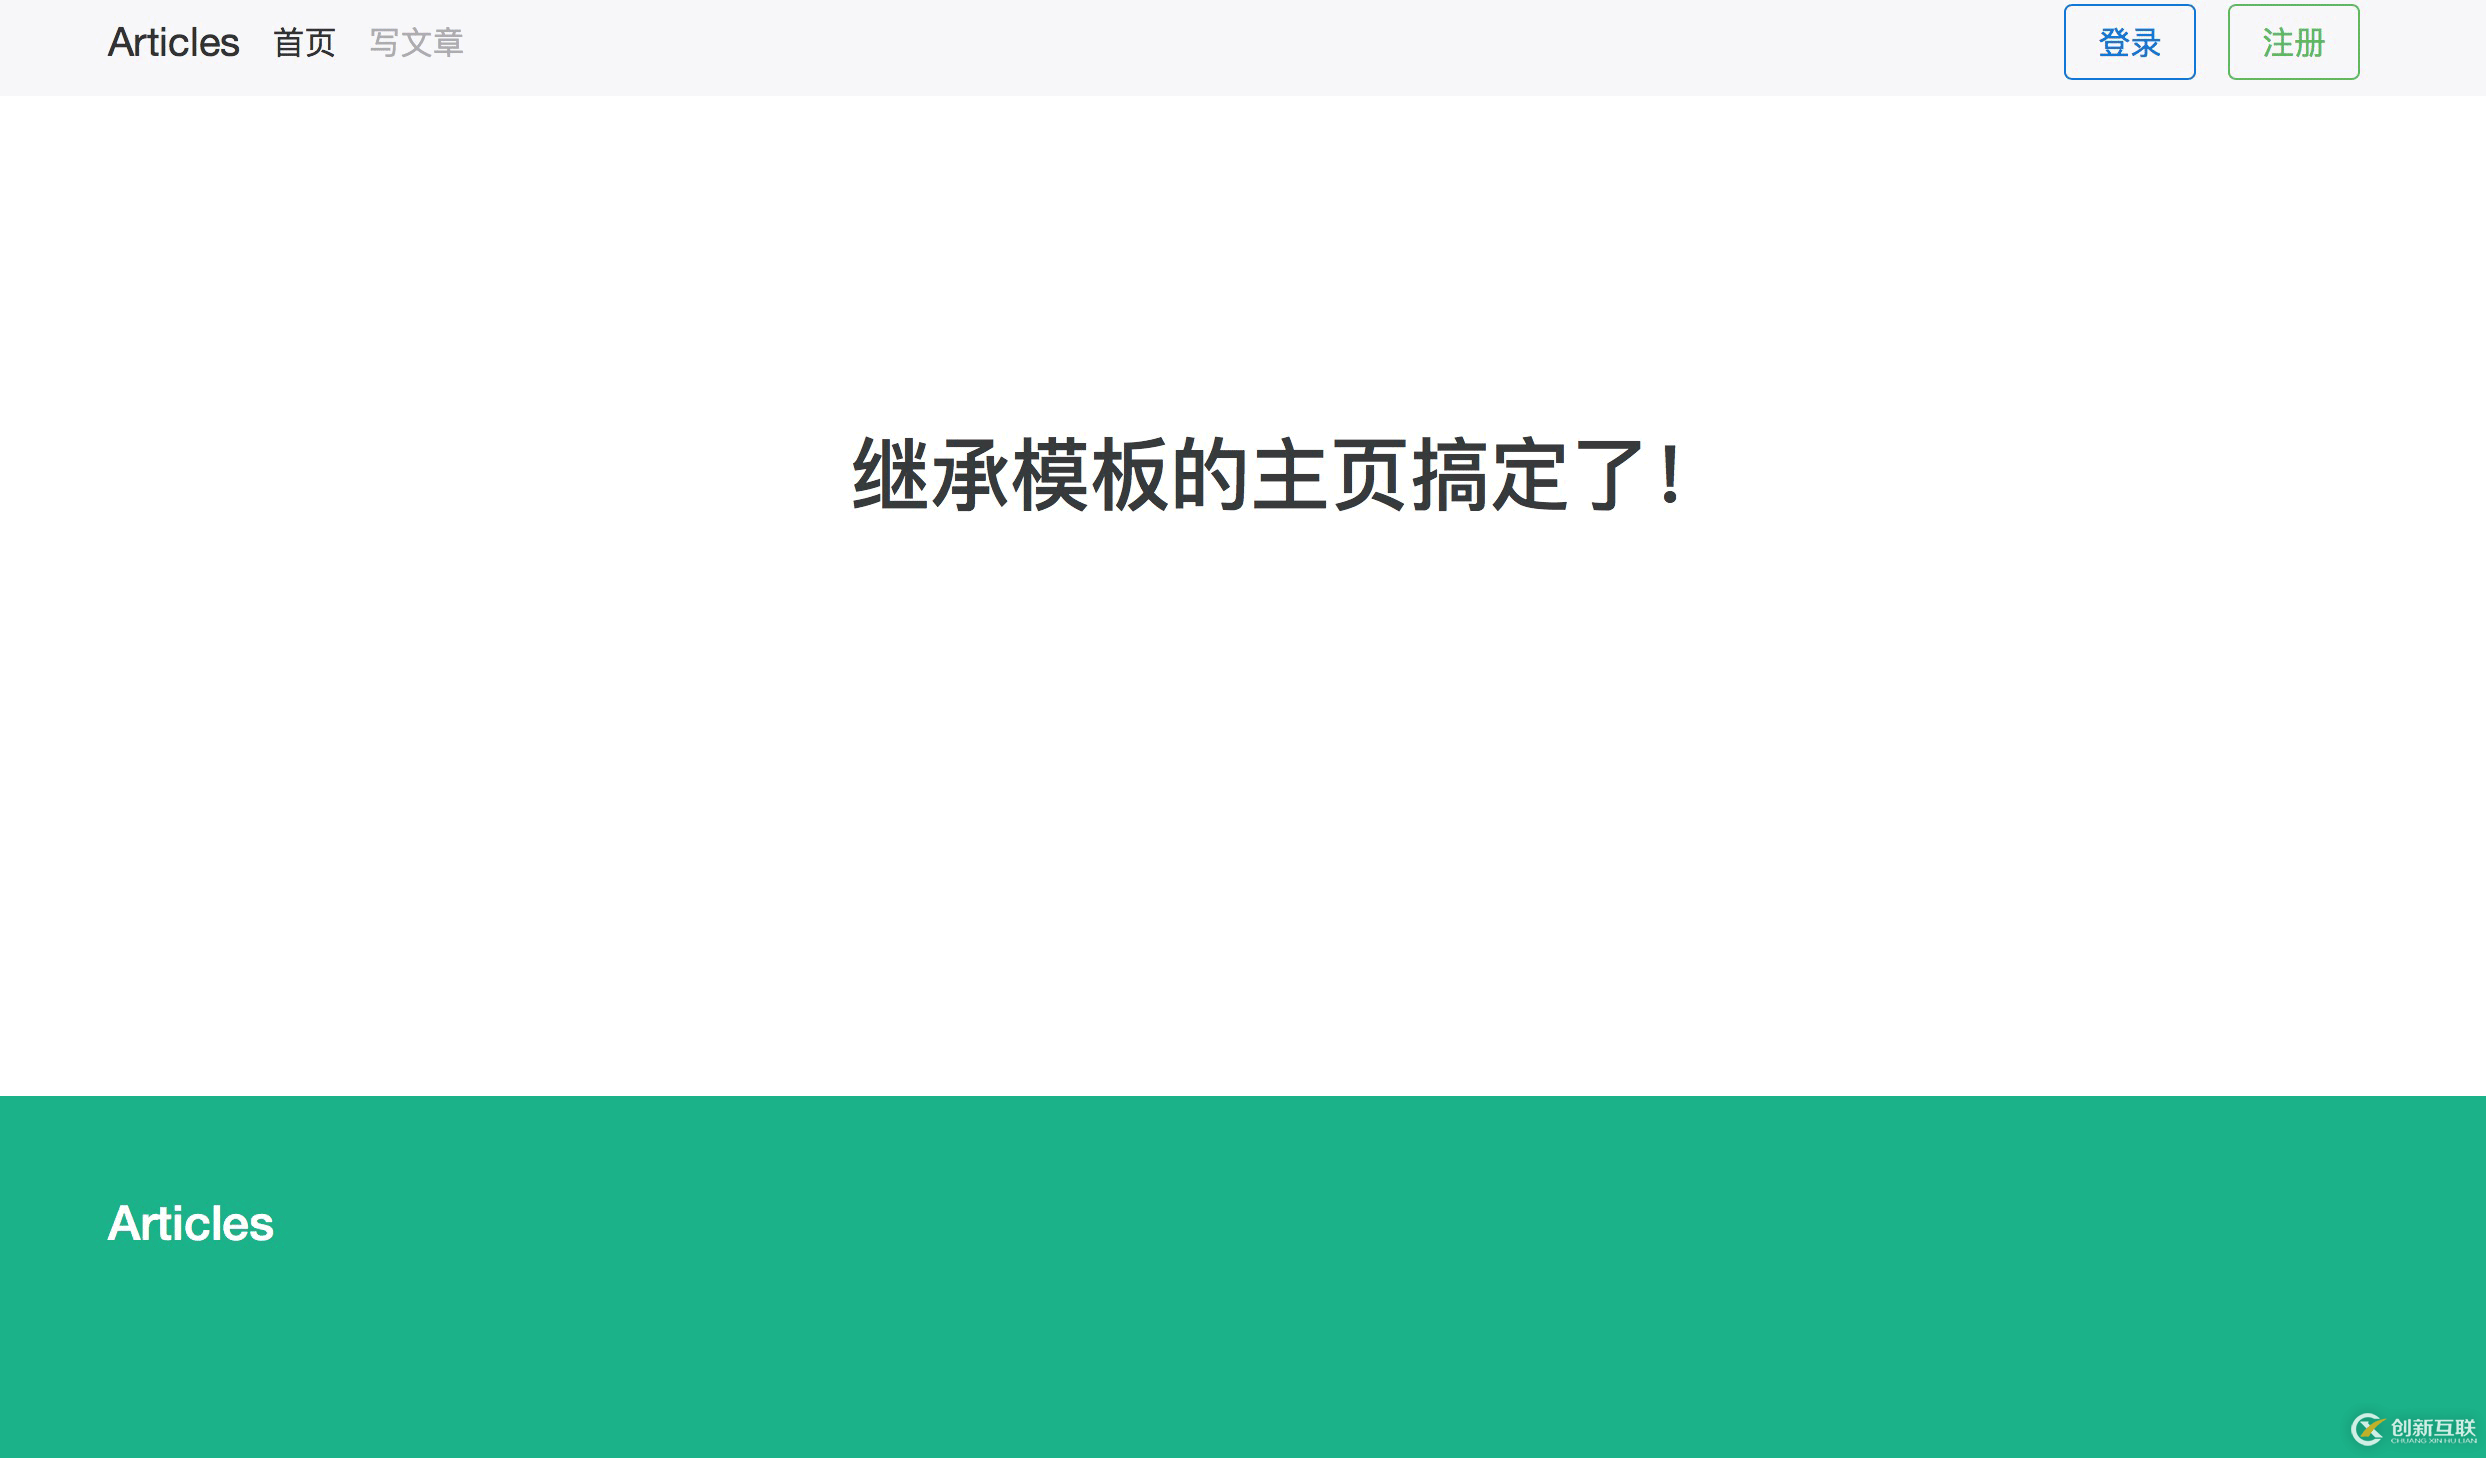
articles效果圖|色彩 #00B388
X bootstrap4起始模板代碼
bootstrap4文檔
<!DOCTYPE html>
<html lang="en">
 <head>
  <!-- Required meta tags always come first -->
  <meta charset="utf-8">
  <meta name="viewport" content="width=device-width, initial-scale=1">
  <meta http-equiv="x-ua-compatible" content="ie=edge">
  <!-- Bootstrap CSS -->
  <link rel="stylesheet" href="https://cdn.rawgit.com/twbs/bootstrap/v4-dev/dist/css/bootstrap.css" rel="external nofollow" rel="external nofollow" >
 </head>
 <body>
  <h2>Hello, world!</h2>
  <!-- jQuery first, then Bootstrap JS. -->
  <script src="http://ajax.useso.com/ajax/libs/jquery/2.1.4/jquery.min.js"></script>
  <script src="https://cdn.rawgit.com/twbs/bootstrap/v4-dev/dist/js/bootstrap.js"></script>
 </body>
</html>
以上就是如何在laravel5.1框架中使用Blade模板繼承,小編相信有部分知識點可能是我們?nèi)粘9ぷ鲿姷交蛴玫降摹OM隳芡ㄟ^這篇文章學(xué)到更多知識。更多詳情敬請關(guān)注創(chuàng)新互聯(lián)行業(yè)資訊頻道。
當前文章:如何在laravel5.1框架中使用Blade模板繼承-創(chuàng)新互聯(lián)
標題URL:http://chinadenli.net/article20/edeco.html
成都網(wǎng)站建設(shè)公司_創(chuàng)新互聯(lián),為您提供搜索引擎優(yōu)化、關(guān)鍵詞優(yōu)化、手機網(wǎng)站建設(shè)、響應(yīng)式網(wǎng)站、全網(wǎng)營銷推廣、定制開發(fā)
聲明:本網(wǎng)站發(fā)布的內(nèi)容(圖片、視頻和文字)以用戶投稿、用戶轉(zhuǎn)載內(nèi)容為主,如果涉及侵權(quán)請盡快告知,我們將會在第一時間刪除。文章觀點不代表本網(wǎng)站立場,如需處理請聯(lián)系客服。電話:028-86922220;郵箱:631063699@qq.com。內(nèi)容未經(jīng)允許不得轉(zhuǎn)載,或轉(zhuǎn)載時需注明來源: 創(chuàng)新互聯(lián)
猜你還喜歡下面的內(nèi)容
- 彩虹字體Word里字體怎么設(shè)置彩虹色?-創(chuàng)新互聯(lián)
- 怎樣做微信公眾號小程序個人微信小程序能干嘛?-創(chuàng)新互聯(lián)
- clearTaskOnLaunch的作用,自己總結(jié),求關(guān)注-創(chuàng)新互聯(lián)
- 虛擬主機流量不夠了怎么解決-創(chuàng)新互聯(lián)
- ReactNative的有什么優(yōu)缺點-創(chuàng)新互聯(lián)
- python參數(shù)的知識點整理-創(chuàng)新互聯(lián)
- php可不可以用來監(jiān)聽數(shù)據(jù)庫變化-創(chuàng)新互聯(lián)

- 關(guān)鍵詞優(yōu)化對網(wǎng)站排名很重要 怎么避免優(yōu)化不當呢 2016-05-08
- 網(wǎng)站關(guān)鍵詞優(yōu)化,seo整站優(yōu)化的細節(jié)介紹 2021-12-13
- 對網(wǎng)站核心關(guān)鍵詞優(yōu)化技巧分析 2020-08-15
- 內(nèi)容頁的長尾關(guān)鍵詞優(yōu)化全流程 2021-10-14
- 為何很多的人開始重視關(guān)鍵詞優(yōu)化? 2014-09-01
- 關(guān)鍵詞優(yōu)化過程會遇到哪些難題 2021-09-03
- 關(guān)于網(wǎng)站關(guān)鍵詞優(yōu)化難度的判斷 2021-12-19
- SEO關(guān)鍵詞優(yōu)化需要多少時間 2013-05-05
- 注意了!首頁核心關(guān)鍵詞優(yōu)化不要超過5個 2023-01-29
- 深圳關(guān)鍵詞優(yōu)化策略分析 2014-12-30
- 為什么說關(guān)鍵詞優(yōu)化排名貴在堅持? 2015-05-15
- 分享網(wǎng)站關(guān)鍵詞優(yōu)化的策略,記得收藏哦 2023-01-07